Removing The Old Window
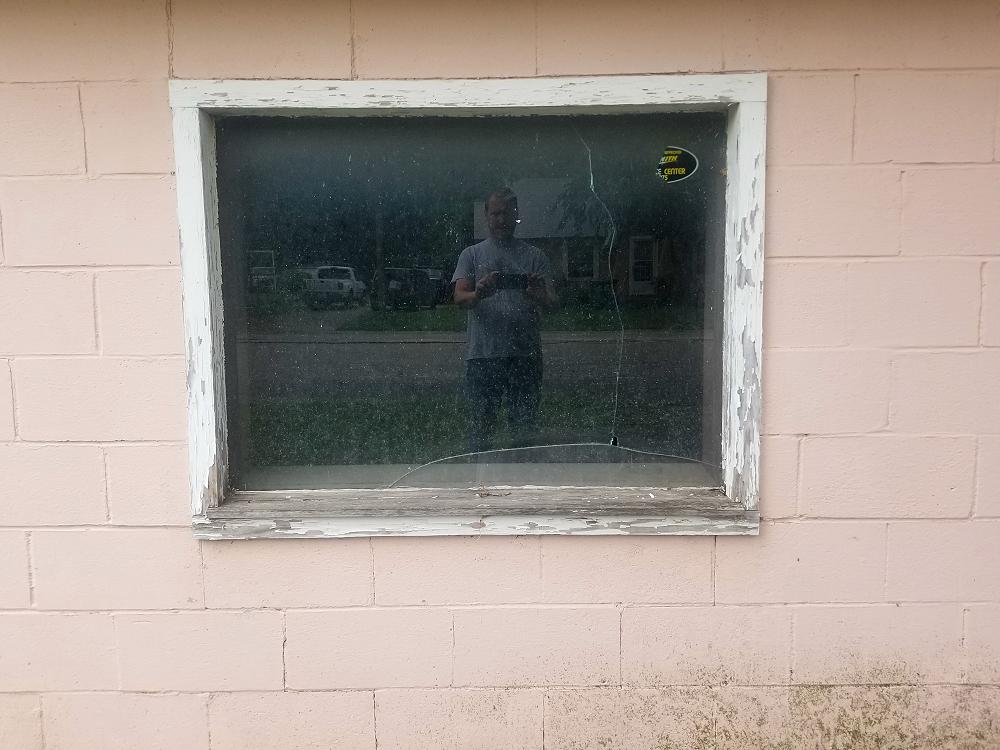
In my last post I covered replacing the front door. This time I’m going to show you how I replaced this window.
This is not a traditionally framed window. Someone framed the opening with 2×8’s and then sandwiched a piece of 1/4″ glass between some 1x’s to hold it in place.
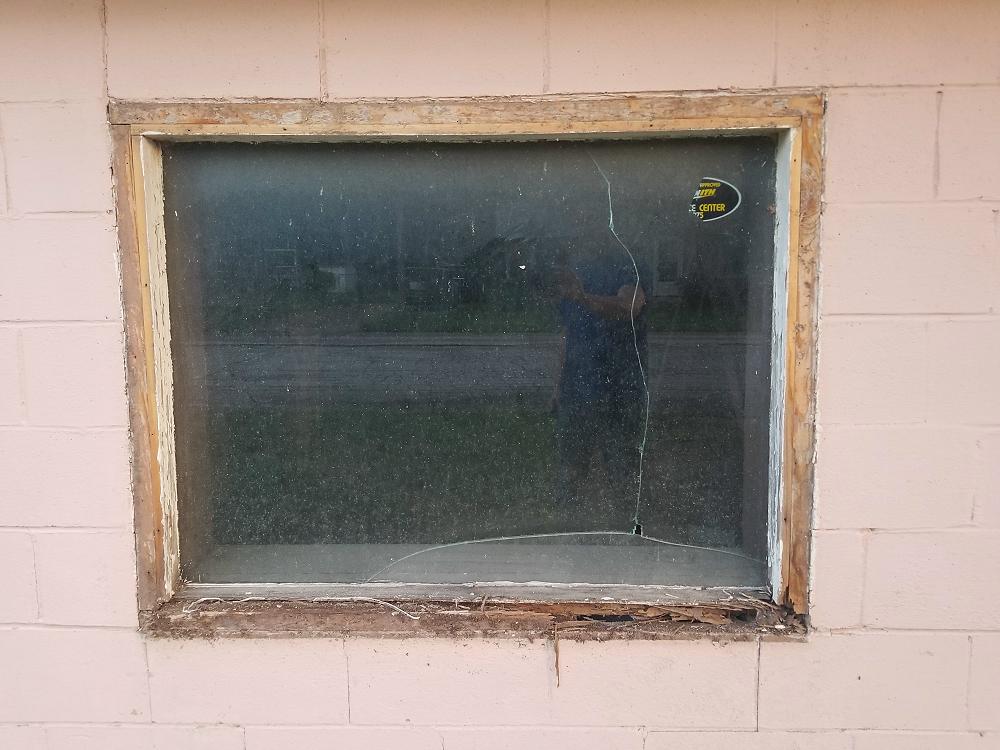
Removing the trim revealed just how bad this situation is. I’ve had windows professionally replaced before, but I’ve never tried to do it myself. One of my biggest fears has been removing a window and finding a rotted window frame. Well, that day has come.
My concern now is removing the 2×8 header and the cinderblocks falling down. They probably won’t, but I’m not taking any chances. If there’s any possible way that these blocks could come loose, it will probably happen to me.
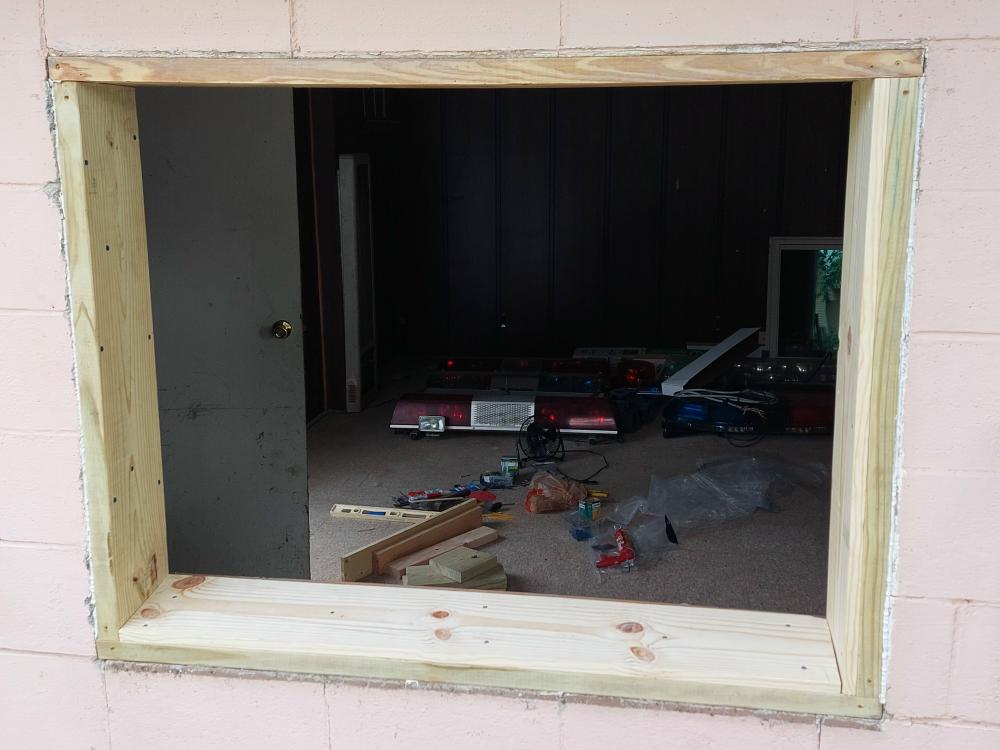
Building A New Window Rough In
I removed the old pane of glass, and then all of the wood except the 2×8 header at the top. Fortunately, the header is in good shape and doesn’t need replaced. I supported the header with 2×4’s running down to the ground so I could remove the 2×8’s on the sides. I installed a new treated 2×8 on the bottom and then sandwiched a treated 2×8 on both sides. Just like I did with the door, I applied Loctite PL-375 Heavy Duty Construction Adhesive to the backside of the 2×8’s and then screwed them into the concrete with 1/4″ x 2-3/4″ flathead Tapcon concrete screws. This gave me a 49″ x 37″ rough in.
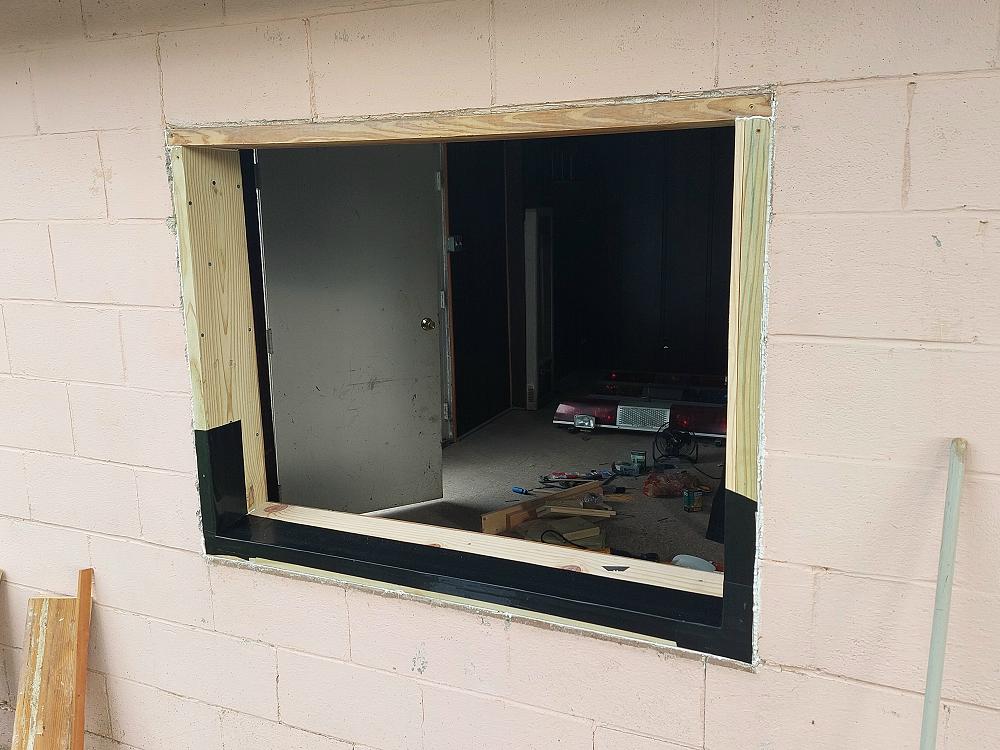
I found a 47.5″ x 35.5″ window at Home Depot that fits a 48″ x 36″ rough in. I added a 1×8 to the right side and bottom of the rough in for a new size of 48.25″ x 36.25″. I went around the outside edges of the rough in and filled the gaps with caulk to keep water out.
I drove an hour and a half to Home Depot to get the 47.5″ x 35.5″ window, and when I went to install it, I discovered that someone had laid a 36″x 48″ window on its side in the spot where the 48″ x 36″ windows were. Three hours later I was finally back with the right window.
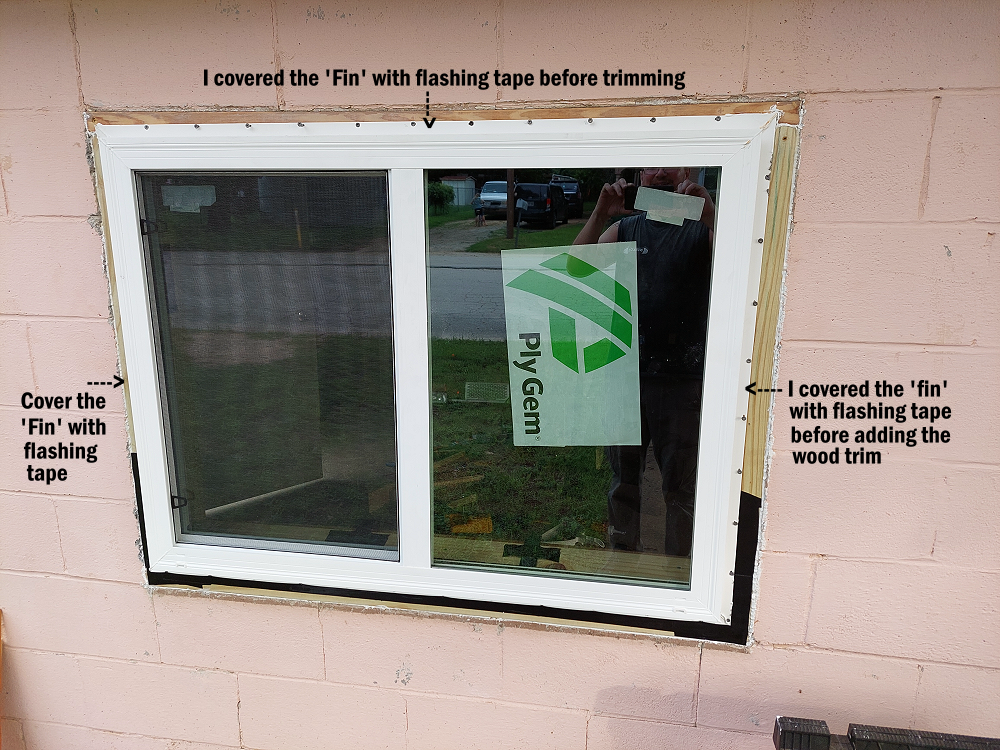
I applied flashing to the bottom and sides of the rough in and then mounted the window making sure that it was plumb and level. I used #8 2″ exterior construction screws (use a wafer-head / pan-head screw) to attach the window ‘fin’ to the 2×8 rough in. I also applied window calk to the back of the fin before I mounted it. The window is level and plum with at least 3/16″ gap all the way around it. I haven’t decided if I wanted to spray any window foam in that gap or leave it open so there’s no pressure on the window frame. I haven’t trimmed the interior side, so I can insulate it later if I choose to. The window slides open and closes nice and smoothly.
I didn’t take a picture, but I covered the sides and top of the window fin with window flashing tape. I didn’t put the tape over the bottom fin, but I did add a strip to cover the exposed part of that 2×8.
Once it was mounted and flashed, I trimmed it with 2×4’s. I know a 2×4 seems thick, but generally there would be exterior siding that would cover the window fin, and then a piece of trim would go over that. Since we’re not dealing with siding, there’s more space between the outer edge of the window and the cinderblock wall. I painted the backside of the 2×4’s to help protect them before mounting them with 1/4″ x 2-3/4″ Tapcon flathead concrete screws. I filled the screwheads before painting them and used black window caulk around the trim when I was done.
Flashing A Window Video
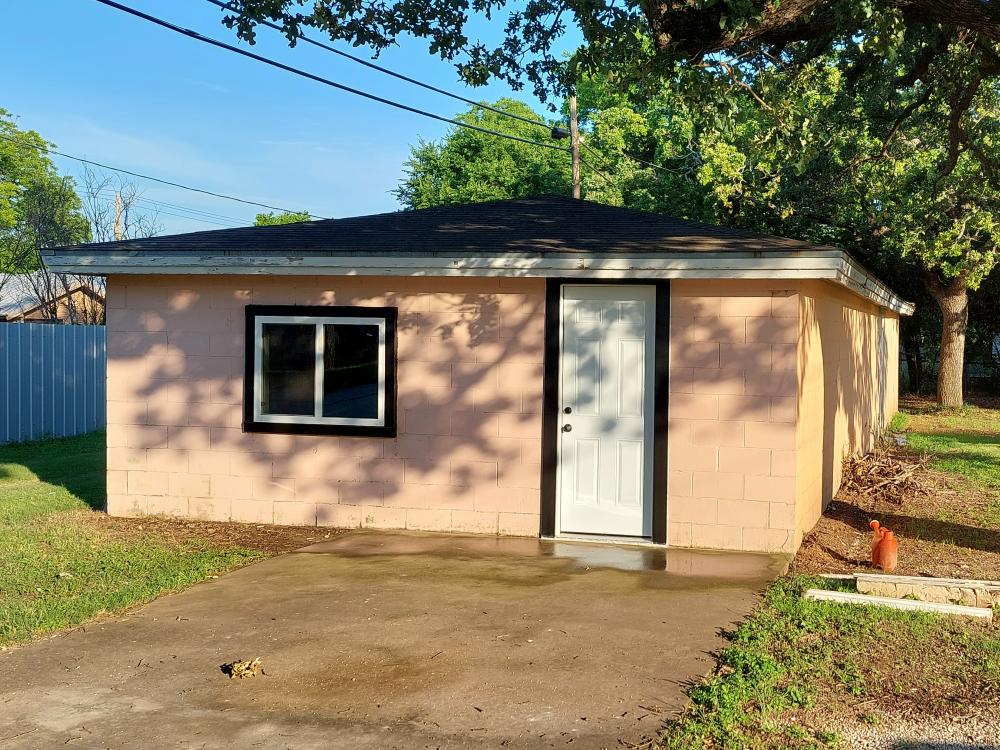
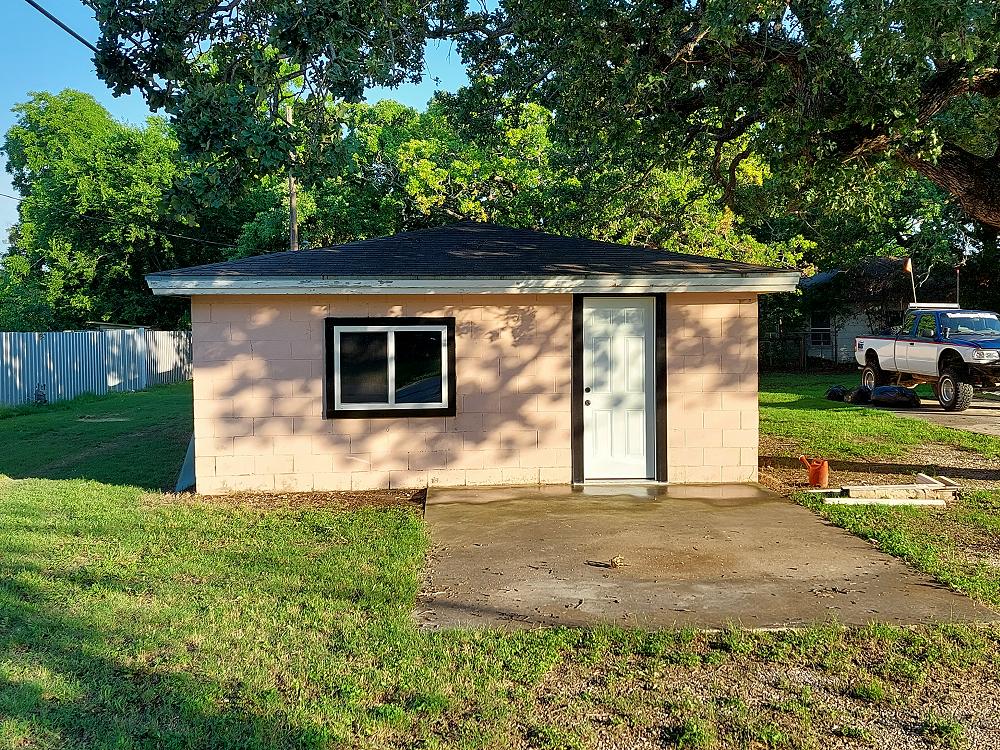
Finished Results
Well, here it is!
I think the new front door, window, and black trim makes the building look a lot better. Not only did I save money by doing it myself, but I also found the experience satisfying and rewarding.

Materials Used
- Ply Gem 47.5 x 35.5 Window
- Window flashing tape
- 2×8 pressure treated lumber
- 1×8 wood board
- 2×4 for trim
- 1/4? x 2-3/4? Tapcon flathead concrete screws
- #8 2″ exterior construction screws
- Loctite PL-375 Heavy Duty Construction Adhesive
Tools Used
- Electric saw
- Electric drill
- Multi-Bit screwdriver
- Prybar
- Level